Showing posts with label 3D Work. Show all posts

Tuesday, February 03, 2009

Latest Render of old character.

Just playing with built-in Mental Ray material for sub surface scattering (sss) effect. SSS looks cool.

Sunday, February 10, 2008

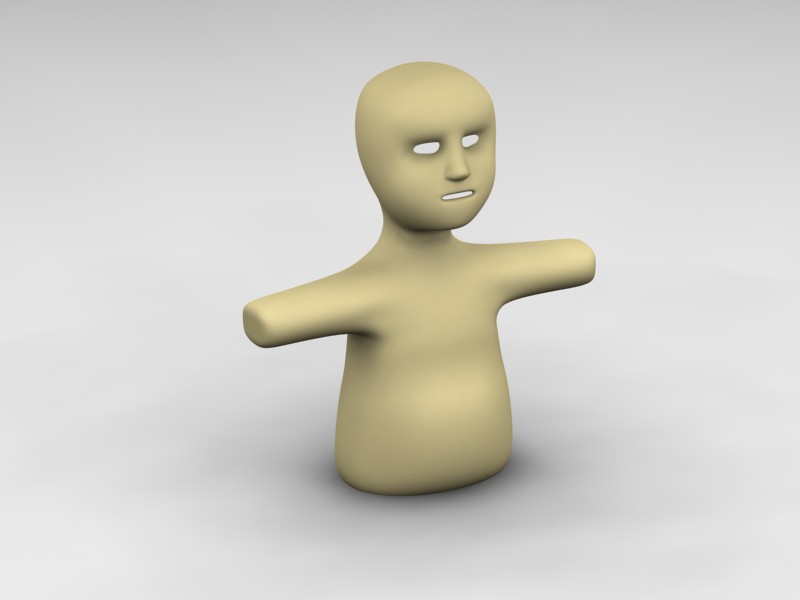
New 3D character (Almost there)

We are creating a 3d character in one of the animation classes. The same character we are going to rig and animate in the end. I dragged the modeling part a lot to make it as good as possible within given time. But I am happy with what I have so far. I wish I could do better with his hair. But never mind considering the time we have. I still have to texture his short.


Wednesday, October 11, 2006

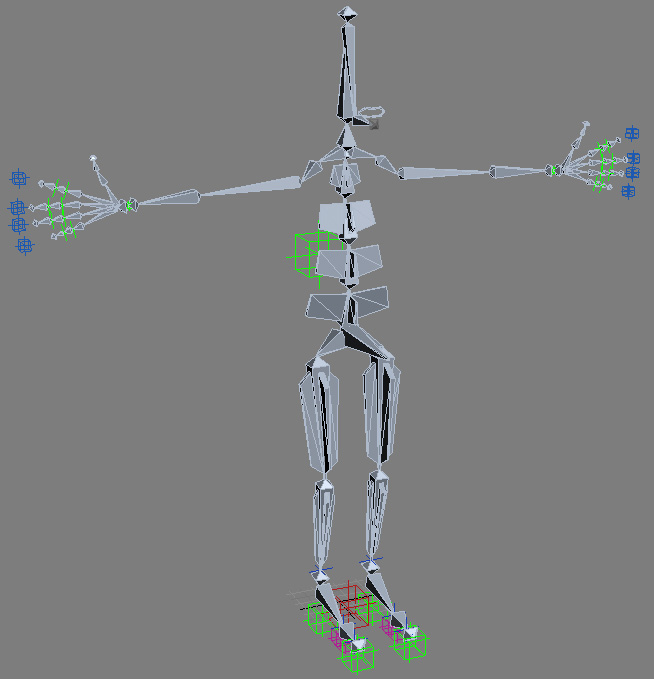
My first 3D character RIG

Here is a snap of my first rig for my 3d boy character. It has been long working on it. I had some issues in defining proper deformations. At one point I was stuck in doing that as max6 gizmos to do that does not work perfectly, but I have found out the way from cgtalk, so will be finishing it soon. This is really a basic rig, with lip bones and a jaw bone.
Thursday, September 14, 2006

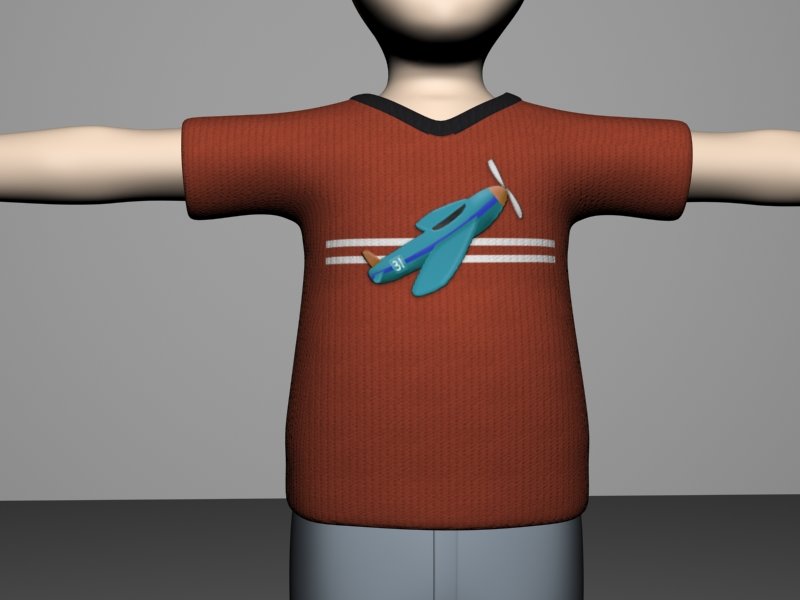
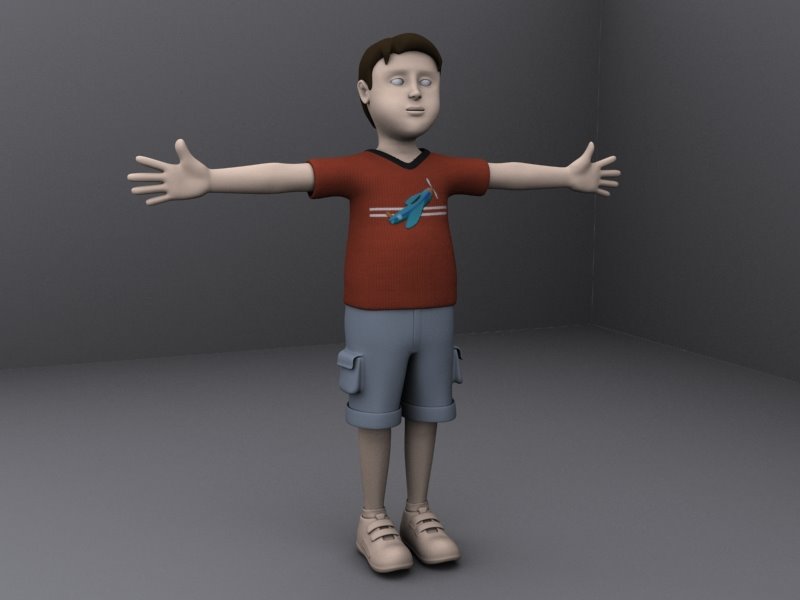
3D character : Update 5 (clothes and shoes textured)

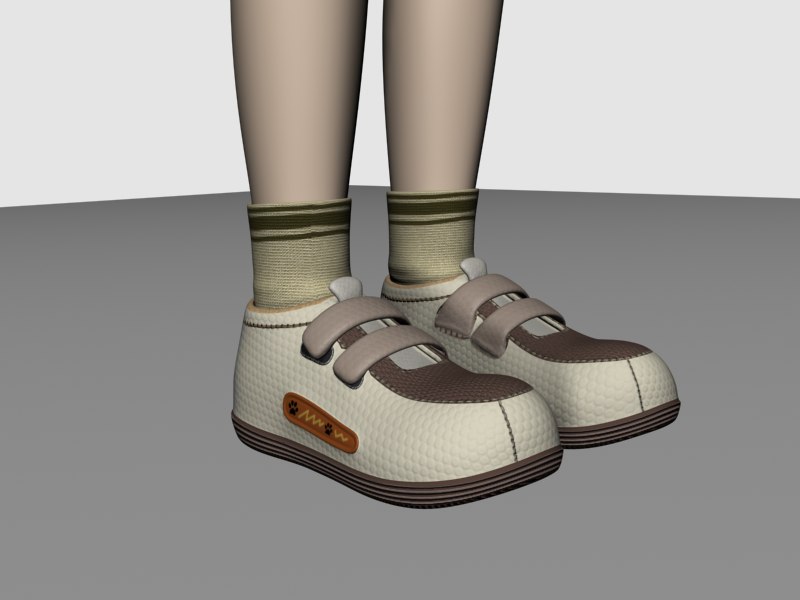
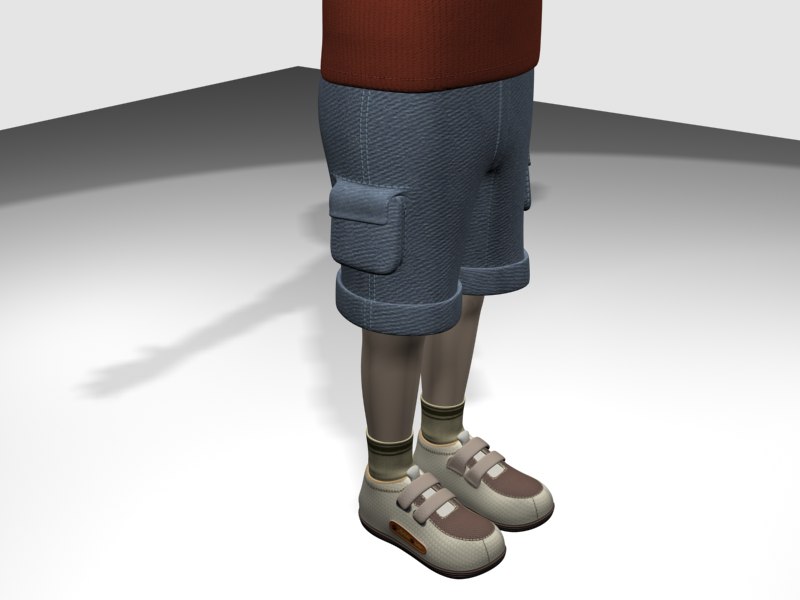
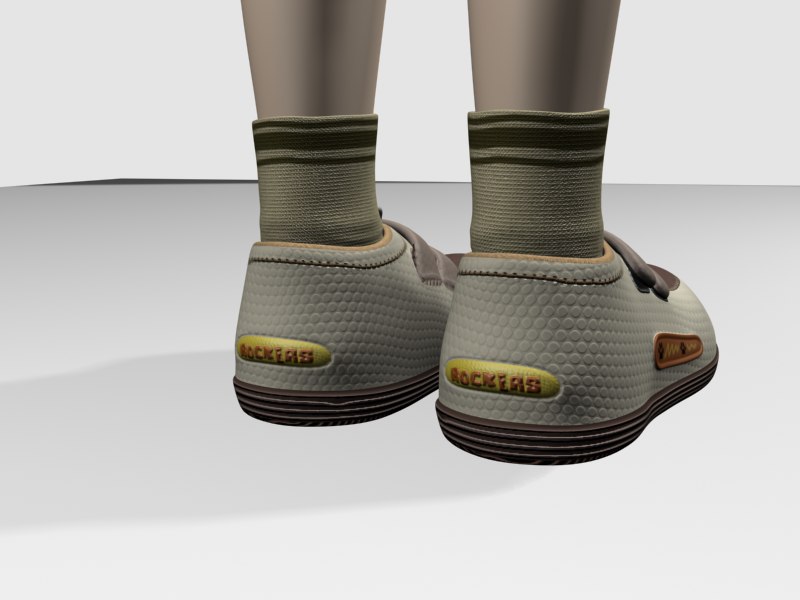
I have finally done texturing to clothes and shoes of my 3d character. Here are few updates on that. Shoe was the most difficult and time consuming. Rearranging uv coordinates took almost a day! It was really difficult to find or put suitable shoe material. Besides color choice was not easy either, I had a lot of combos but finally I settled down with chocolate color theme, I used very mild light shade of chocolate color for body.

Cargo pant was not that difficult in terms of texture material. Though I had to play around a lot to find good texture and resize/tile to get the best out of sample cloth material. But jeans material are not difficult to find. But just the jeans material was too plain, so I thought of creating stitches. And initially I was reluctant because I thought it would take a real long time for me to figure out how to make stitches. I played a lot with photoshop brushes but I was not getting the realistic effect. Because there are 2 layers for stitches, 1 consists of actual thread line and second for the holes in the cloth (darker tone). And I needed 2 separate color shades for both the layers, thus a need for 2 separate brushes to make threads. I will write a tutorial on this some day. But this technique was really helpful further to create stitches.

For shoe I had a real tough time selecting materials and texture patterns. I had to tweak different patterns a great deal to achieve some good looking effect. Some patterns were multipurpose. If you change the size or orientation or contrast of pattern, it will look different and can be used for different purposes.

Saturday, September 09, 2006

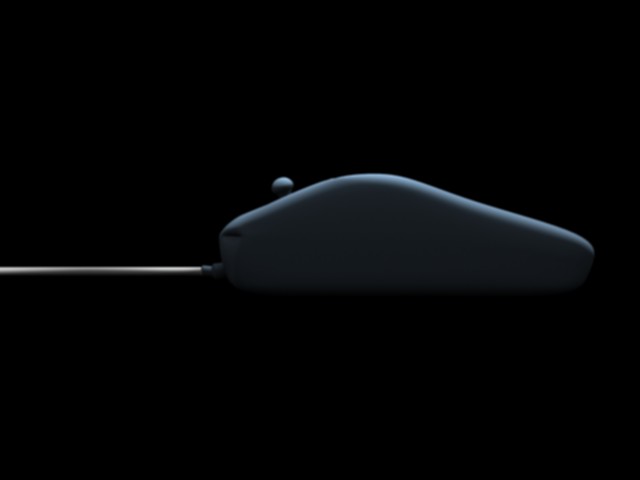
New mouse design

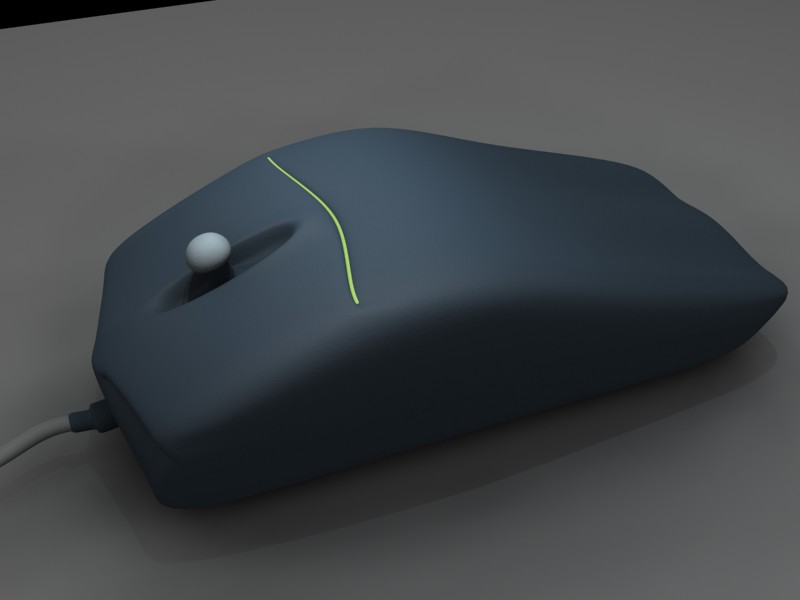
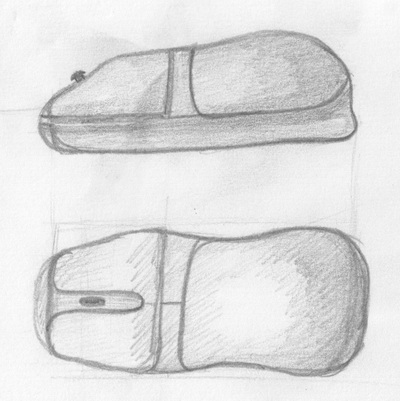
I created this mouse for a 3d battle in KirupaForum. I had designed some of the concept designs. My main concept was to give a good grip and easy and faster navigation. I replaced the mouse wheel by joy-stick to give more freedom for motion. Joy-stick can also act as middle mouse down, just like mouse wheel.

I had done a little survey on that forum to know what is the general grip to hold the mouse. And I found mixed responses in given 2 options:

  • full palm resting on mouse body (so whole hand will move mouse around) and
  • palm over mouse not fully in touch with the body (so mainly fingers and knuckle will be used to move mouse around).

My sketch has a bump on the rear side of the mouse. This was added considering that dent in the palm can rest on that bump better. This design can work very well for people who like to rest their whole palm on the mouse body. I have a bit different design of that part in my 3d model. I had considered this 3d model for people who like to hold mouse like second type mentioned above.
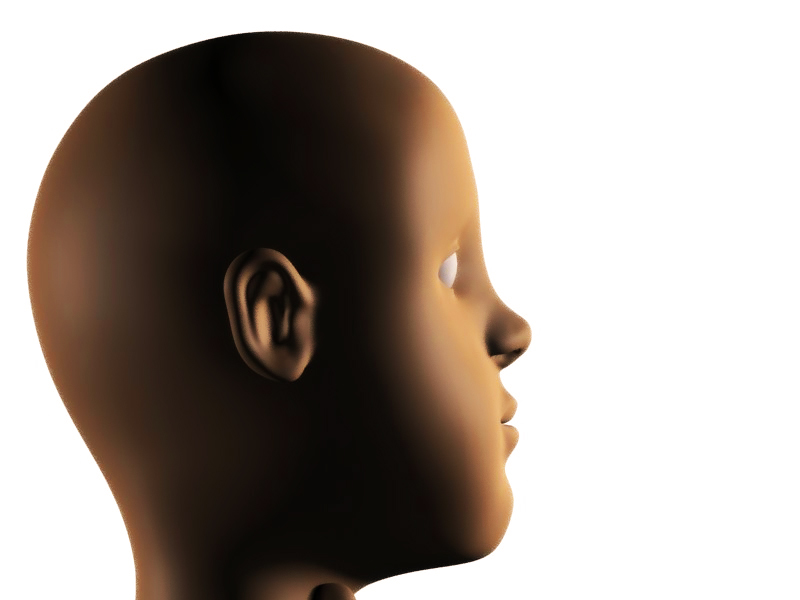
Side face close up

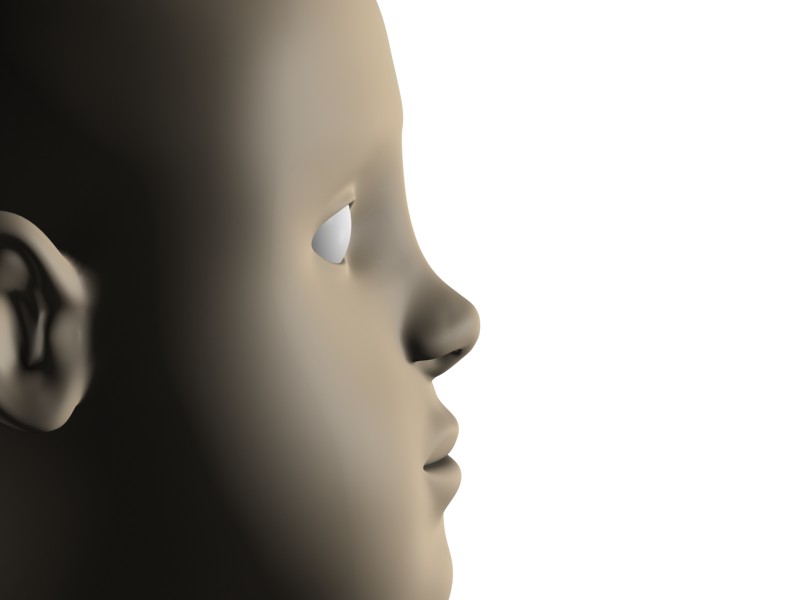
I had this rendered image of my 3d character's face from side view. I really like this render, so I retouched the image in Photoshop to add some color and effect.
Friday, September 08, 2006

3D character : Update 4 (texturing begins)

Well! A lot of things have been done after I posted my last render. At last modelling part is over (pheewuuu)! I have started texturing the model now. Initially I was reluctunt to start with any complex texturing, rather I wanted to apply simple shaders to the objects. But I thought to have a look at uvw unwrap feature. So I was just playing with that feature and started texturing tshirt. But initially working with uvw unwrap was a real brain burning session. I had no idea of how it works. I went through some tutorials and help in max but could not get much idea. So I thought to just experiment directly and I flattened my map, what I expected was unfolded 3d mesh onto a plannar area like a 2d map. But no! I had lots of separate pieces of my mesh and they were arranged in a little box. So looking at that map I could tell about some majot parts which they belong to, but no way I could tell how they were connected. So I was about to give up and started with only basic shader. But I kept playing around and I remembered that one tutorial was talking about stitching parts together. So I started experimentin. I found that I can stitch related edges (shared edges or any shared element) to join all the different parts of map together to form faily identifiable flatten map. So day before yesterday I sat for like 14 hours straight and finally I got character's tshirt textured. At each stage I had high amount of excitement to see what result will come next in his t-shirt. And as this is my first time doing such a complex texturing it was difficult, but I enjoyed it a lot. So far I have got this :)

Tuesday, September 05, 2006

3D character : Update 3

Here I am with updates on my 3d character. It's almost ocmpleted in terms of modelling. Only mouth is remaining now.

It took me so long to reach here because sometimes I was just running after a highly detailed character. So I kept moving vertices to get a very smooth detailed mesh. But when I see the result after rendering it's not much noticable. So there has to be an end to modelling, otherwise it goes on and on. So finally I decided on what I wanted and made it here.

Follwings are the main updates I have made

  • Main modification was done to face, Nose is greatly changed. I added lips and eyes and ears.
  • Clothes added.
  • For shoes I added a bit of designs at the side and rear area.
I had drawn some sketches for his clothes. For t-shirt I detached polygons from his torso and then modified that to give shape of his t-shirt. For his trouser I started with a box covering hip area and then started slicing according to my need. Then I extruded 2 boxes from that box and then started shaping up the boxes to make it look like trouser. Whenever needed I used quick slice to cut the mesh. I am thinking of this character as adventurous too, so I thought of making his trouser suit that nature. So I added 2 big pockets as well. I had also planned to add some straps on top of the pockets, but I think I will not going to make it as of now.

I think major things remaining now is hair, mouth and his cap.


Next task will be to texture everything, and I am really novice at texturing, so I am going to have tough time with that.

Wednesday, August 30, 2006

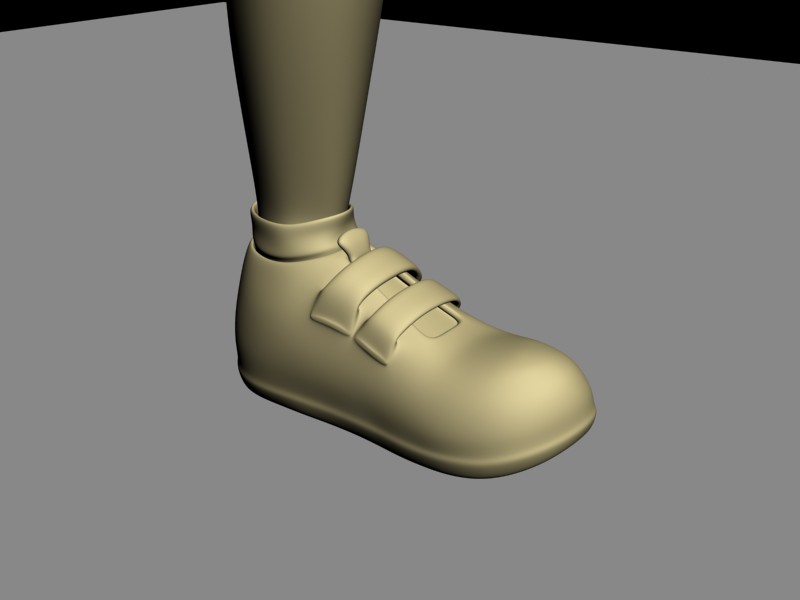
3D character : Update 2 (Shoe)

Finally! After 3 days of pulling hairs and eye-burning sessions, I finally came up with something interesting and to an extent satisfying result. Lack of experience in complex 3d and lack of original drawings costed me more time than I had presumed. After I attached shoe to body of character 3dsmax took more resourses and now it was almost impossible to get smoothed result with iteration set to 4.

Here is a render of shoe I am going to use for my character. I have already added partial details for socks. I am planning to add good textures and add more details to shoes. It is certainly going to be challenging experience while adding texture for both shoes and socks.
Monday, August 28, 2006

3D character : Update 1

I could not finish the features I wanted to in last weekend. But I was able to complete leg, ear and started with shoe. Right now I am working on shoe and when I am done with it I will duplicate the leg and ear and will have fairly finished character. I will add details to face and eyes and mouth.

For the update I have right now his hands, which was fun working with. But due to my lack of experience with it i had a bit trouble modelling it, in terms of adding details.

after I worked on leg and arms

Friday, August 25, 2006

My first 3D character : modelling

3D has always intrigued me from the day I came to know about it. And I love 3D films for it's own style and test. As a part of learning 3D animation I started modelling a character in 3dsmax. I was planning to start with definite character, but I want to do more experiment in sculpting. So I started with some idea of what I want my character to look like. And this is what I have got till now. I will be posting more updates after this weekend.